
The Card Case That Got Me Out of a Creative Rut
How a simple deck of cards inspired me to embark on a technical journey into filet crochet, 3D modeling, and hand-engraving.
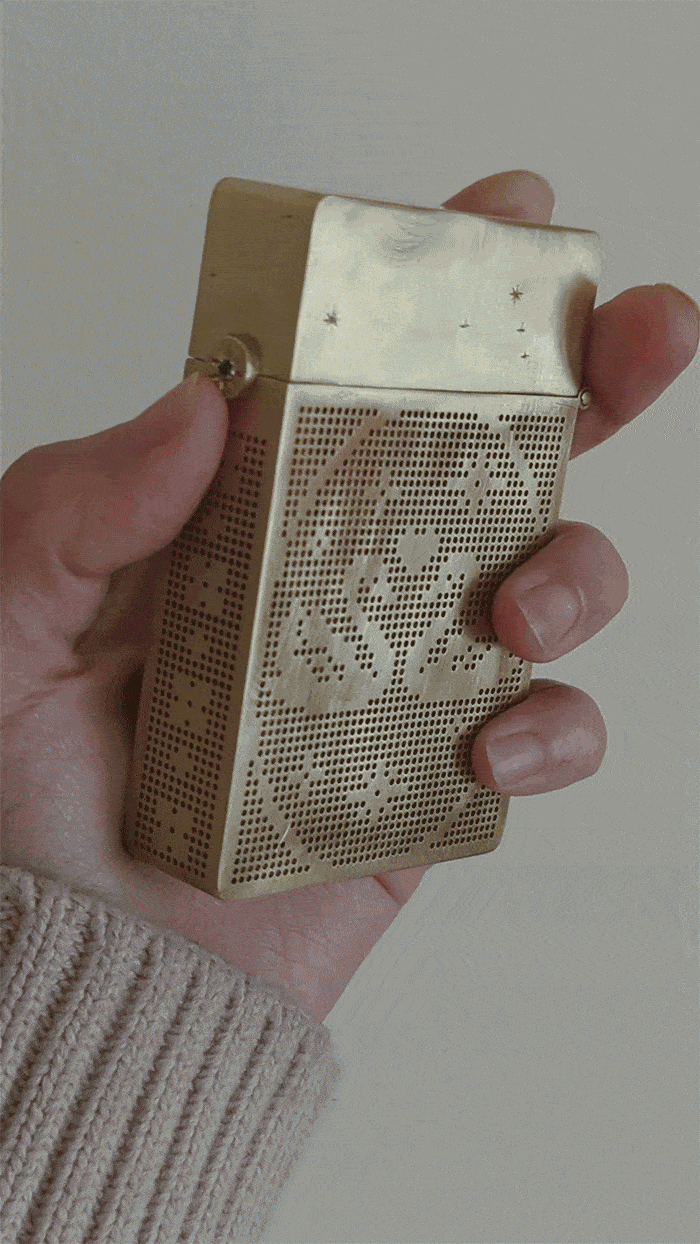
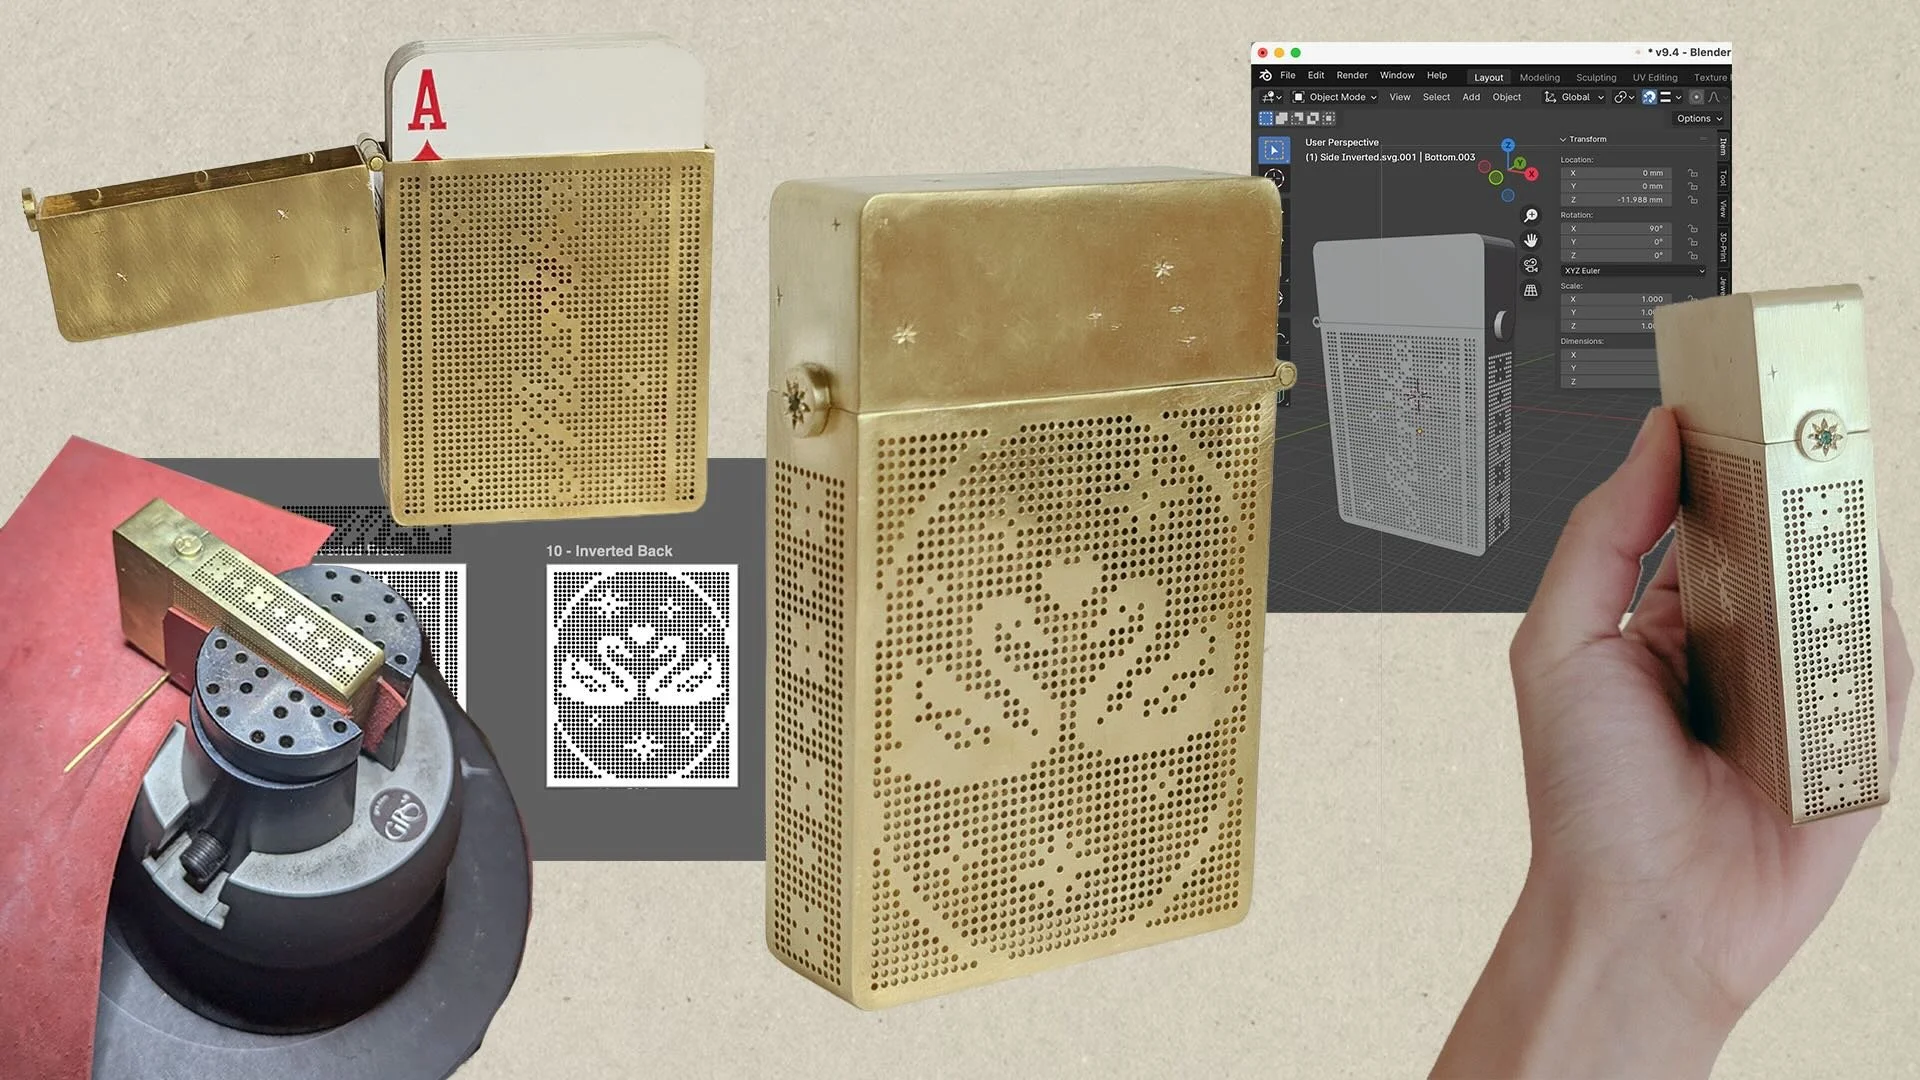
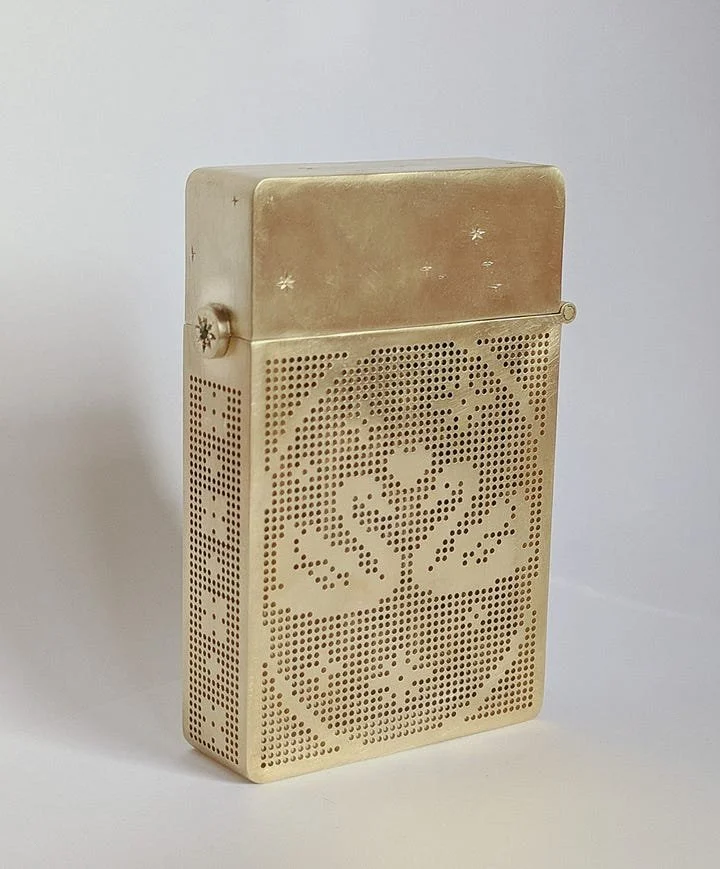
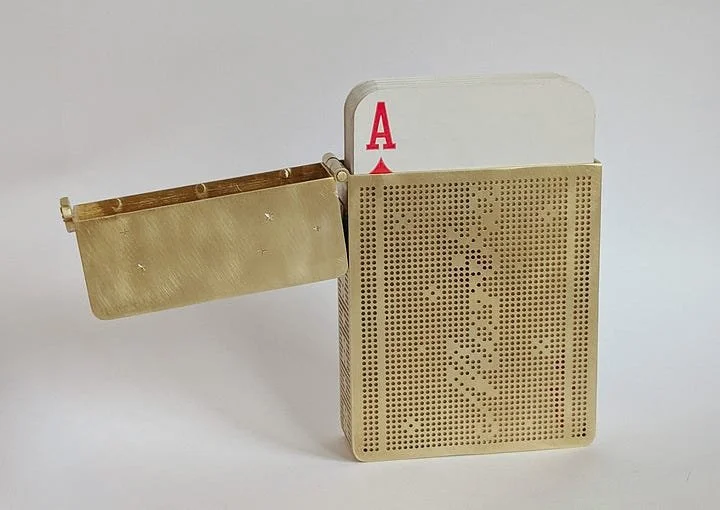
A 360° view of the card case
On a girl’s trip, my friend Marika brought out a deck of cards out of her purse for us to play. A deck of cards? In a purse?? It was so charming. She even had a mental library of games ready to go. The whole thing inspired me to do two things:
1. Go down a Youtube hole of card games to memorize and
2. Make a case for Marika’s playing cards that’s just as chic as she is.
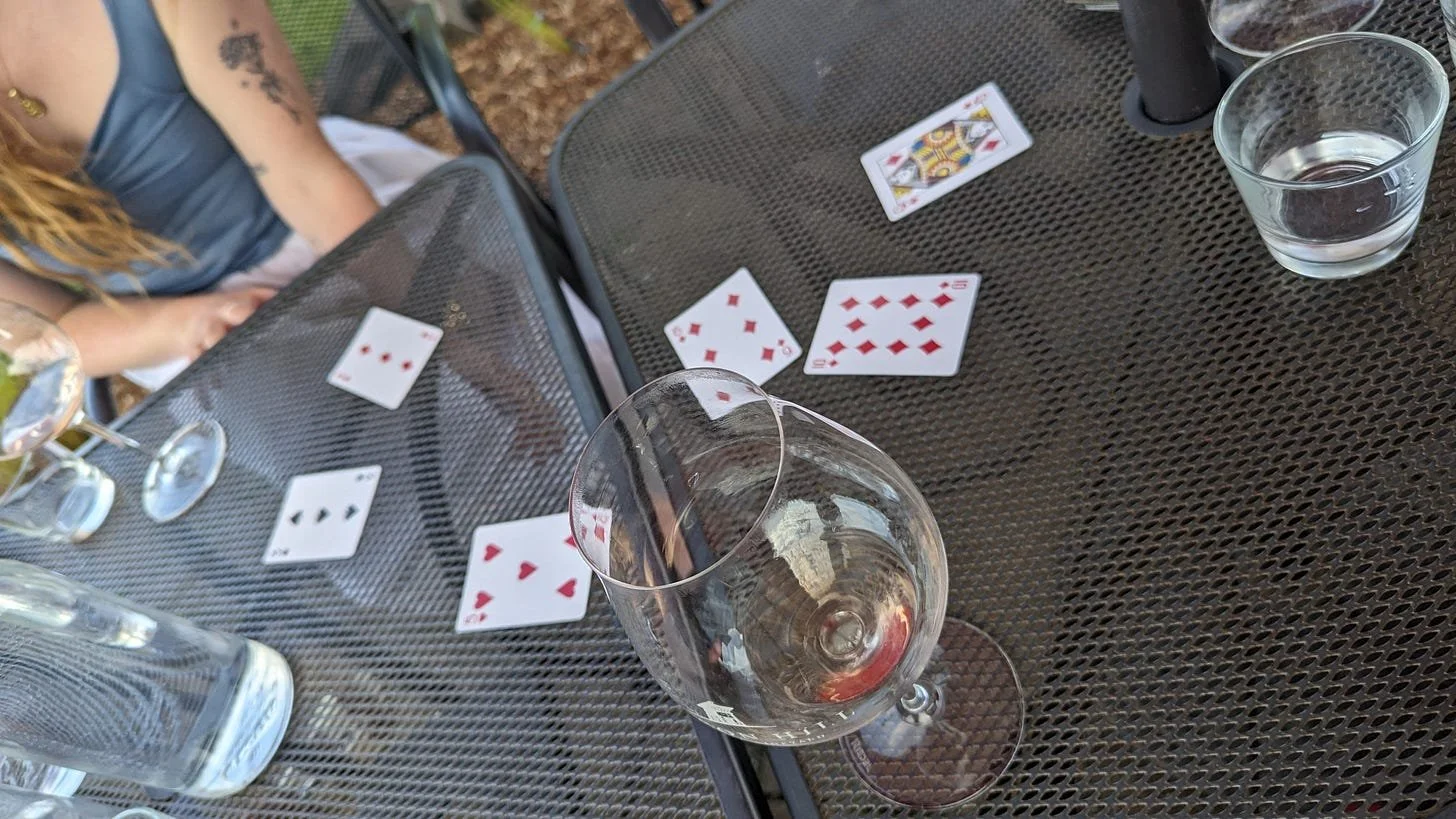
Card games on a girl’s trip
INSPIRATION
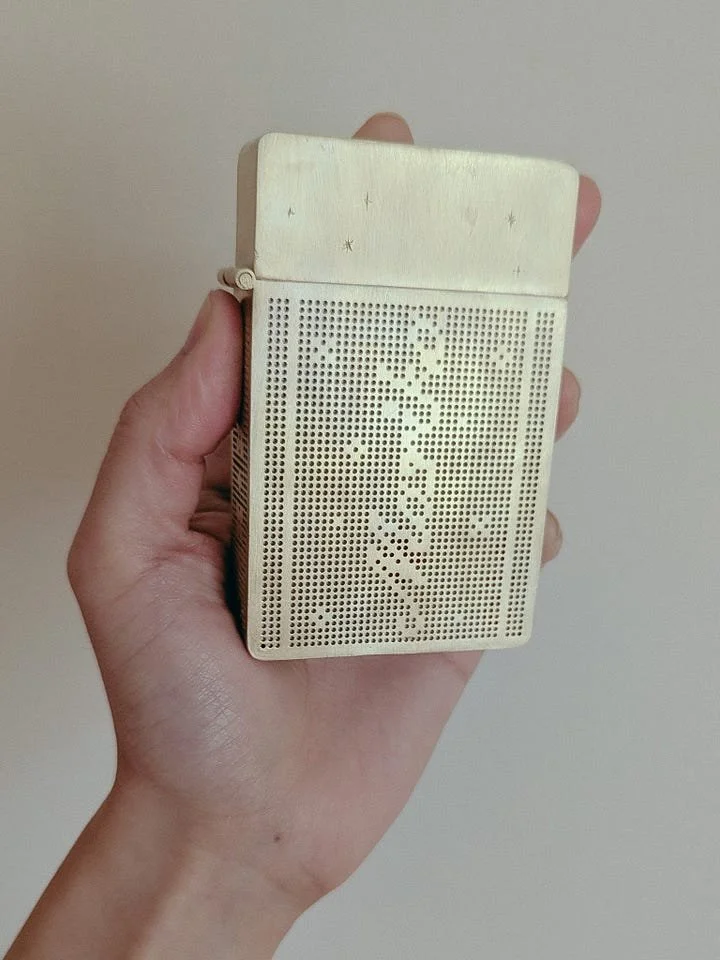
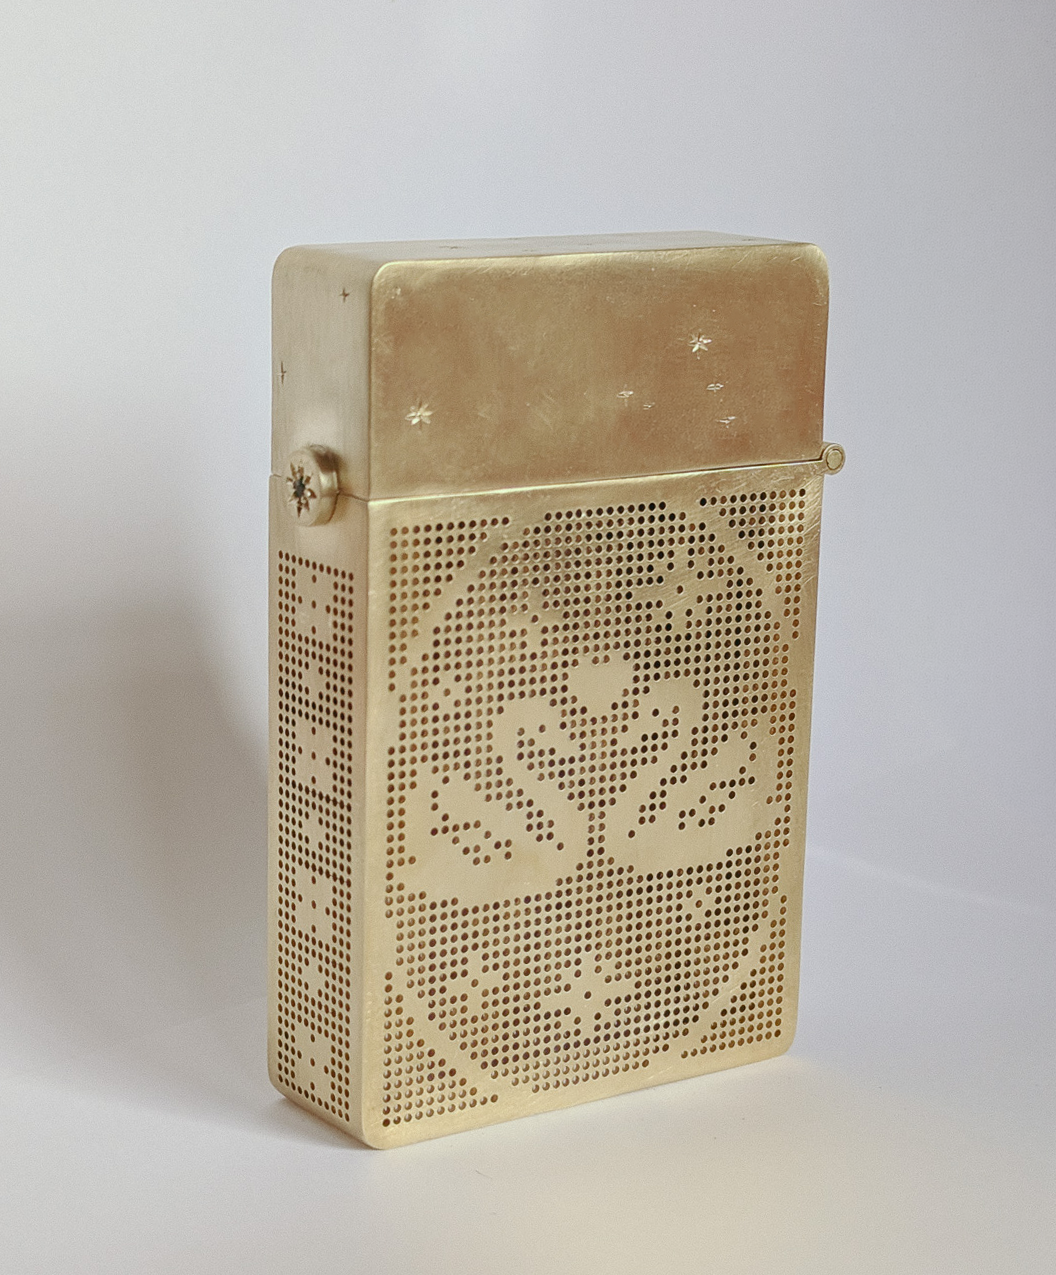
Another thing you should know about Marika is that she loves to crochet (it’s actually the first thing we connected over). In 2025, she started making things with filet crochet, a technique that uses a pattern of filled blocks and empty spaces. It’s tedious work, but makes for beautiful airy pieces.
I thought, what would it be like to create the card holder to echo filet crochet?
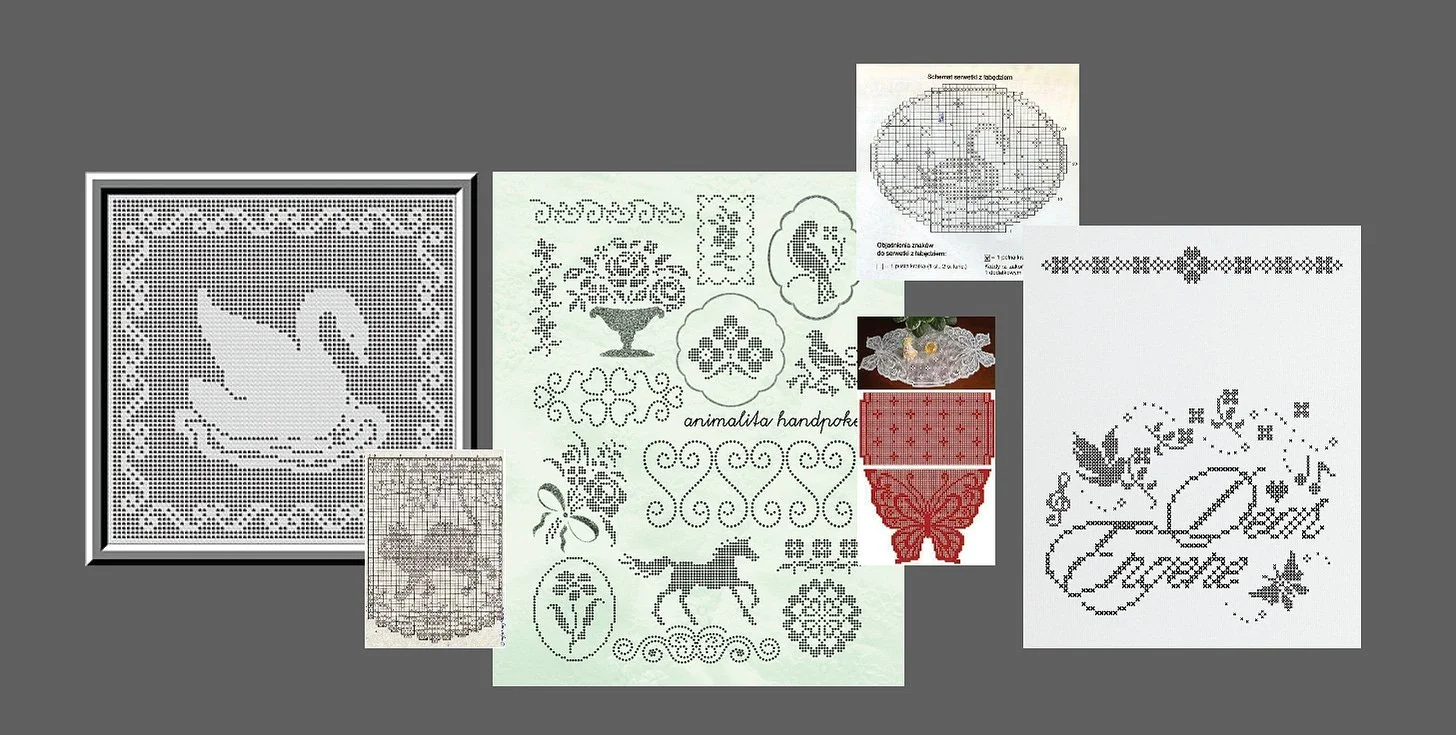
My inspo board
I had a design in mind, but then I had to figure out what would be the best method. In my mind, there were three directions I could take: fabrication, wax-carving, and CAD.
Fabrication and wax-carving would be the fastest - but I wanted precision with the holes. I knew if I messed up just one hole, I would want to throw the whole piece away. So CAD it was.
PROCESS
THE DIGITAL PART
I went back and forth from Figma to Illustrator. I used Figma to create the pattern of dots (it’s just so much easier to space things there) and used Illustrator to fill in those dots. I referred to several filet crochet patterns and cross stitch patterns for the motifs.
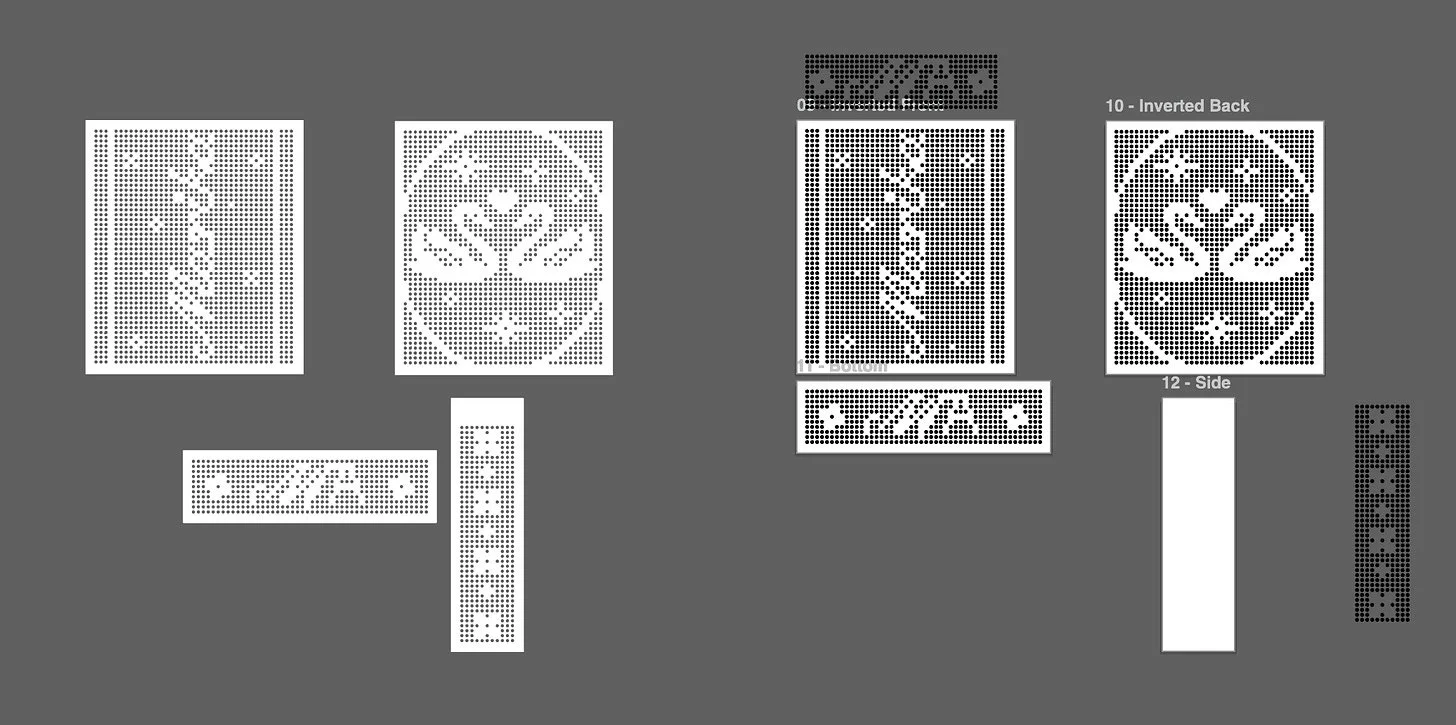
My Illustrator artboards
Once those frames were created, I pulled them into Blender. This was the most time-consuming part. I made about 8 versions before finalizing on a design.
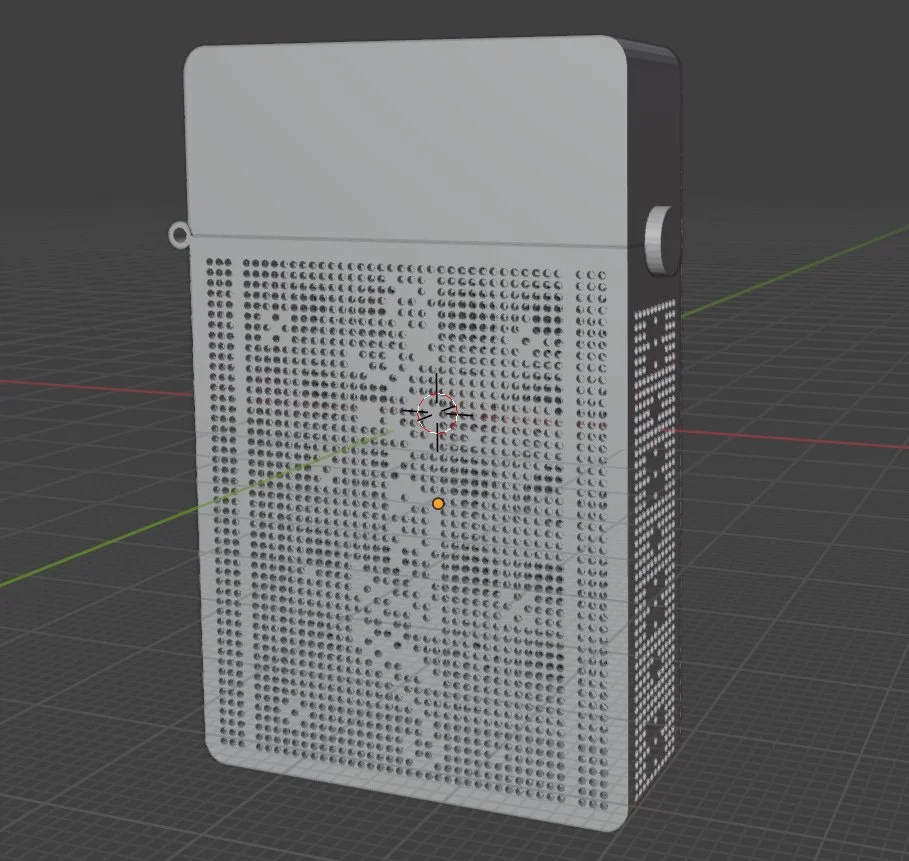
A peek into my blender file
I honestly don’t think I would have been able to confidently get this case ready for casting without having a 3D printer to troubleshoot design errors. For example, one prototype’s case was too large, one hinge wasn’t smooth enough, etc. After that I pulled it into CraftCloud (also, how did I totally miss that Shapeways went bankrupt last year?? ) and sent it to cast.
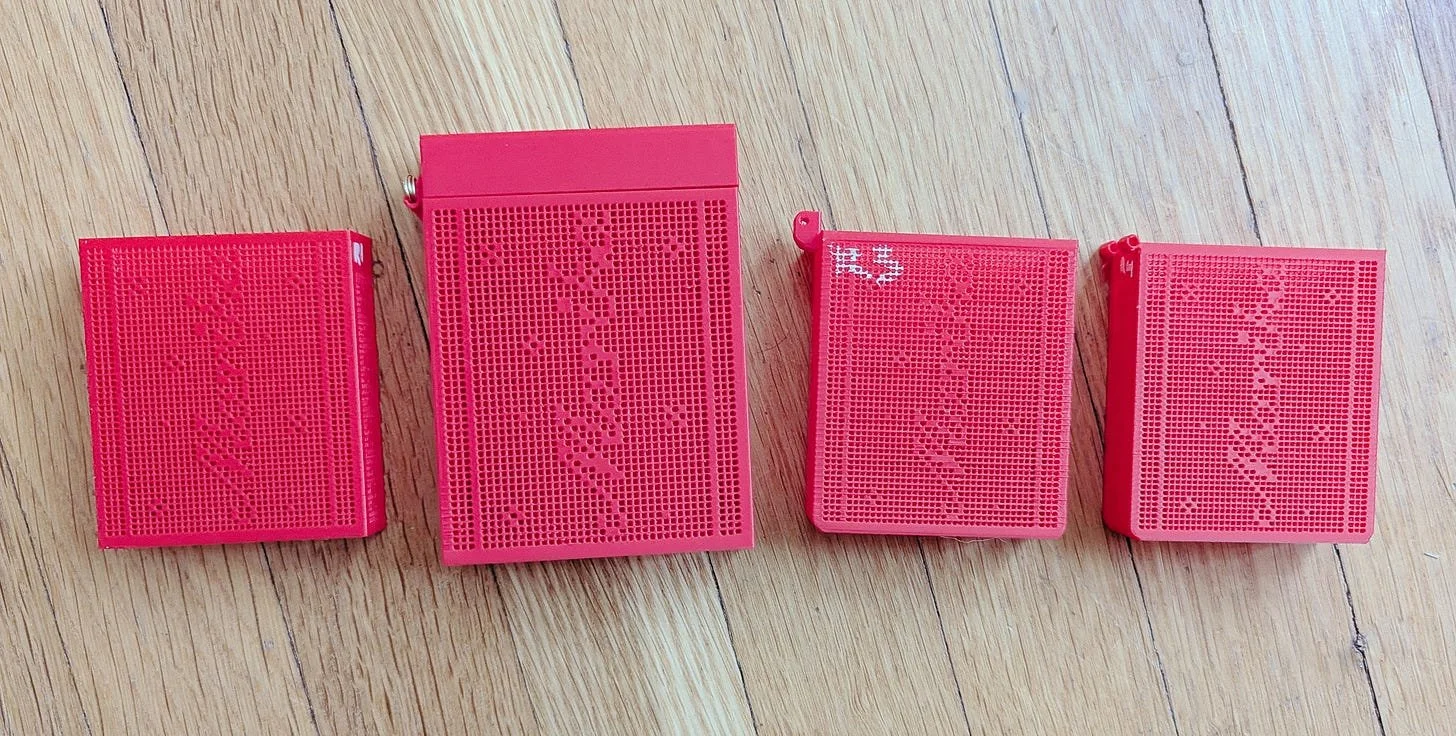
A few of my prototypes
THE PHYSICAL PART
This was the part of the process I was most intimidated by. Because, up to this point, I had not worked at my jewelry bench for almost a year. After my daughter was born, I had little time (and energy!!) to do any kind of work outside being a mom and my full-time job.

Getting ready to set the 2mm emerald
The same bench that gave me bursts of creativity a year ago, now just reminded me of how rusty I felt. I had to literally psyche myself into sitting down and picking up the gravers. I watched Youtube videos, rehearsed the steps in my head, asked my mentor for advice - I now actually had to do the thing. The physical part of the process included three steps:
Finalizing the hinge
I counter sunk both sides of the barrel and inserted the pin. I tapped each side of the pin with a riveting hammer until it was flush with the barrel.Engraving stars on the top of the case
The part I’m most proud of! I engraved the Sagittarius (Marika’s sun sign!) constellation on the top with four and eight-pointed stars.
Setting the itty bitty emeraldThe part I’m least proud of. At this point, I was over confident and what was supposed to be a simple and clean four-pointed star setting, turned out to be a very clunky eight-pointed star setting.
FINAL THOUGHTS
I am so so happy with this piece, and most importantly, Marika loves this piece. Last I checked, it has found its permanent home: Marika’s purse.
Friends make the best muses. If you are in a creative rut, I highly recommend hand making something for a friend. You don’t have to think about if it fits your brand, or your collection, if people will buy it, etc. It takes the pressure off.
For future versions, I would make the top deeper (it barely skims a deck of cards when it opens) and scale it for a casino cards, not bridge cards (there’s a big size difference!)
I might make this style for other types of cases, so keep an eye out!

Have an idea that you can’t get out of your head? Want to make a personalized gift for a loved one? Custom metal objects aren’t just for engagement rings. If you have a specific design that you’d like to see in metal, let’s bring your vision to life!
Your $100 deposit secures your commission and is applied in full toward the final cost of your piece. While each project is unique, custom commissions typically fall within the following ranges:
Bronze Objects: $200 – $500
Silver Objects: $500 – $1,000+
Pricing is determined by scale, weight, and bespoke additions such as stone setting or hand-engraving.
Upon deposit, I will set up a zoom call where we can discuss your design, timeline, and budget. I provide two 3D-printed prototypes for your approval before we move to final casting. You can read more in our FAQs.